The “Sticky Chicken” recipe was originally posted on the Newlyweds-blog
Physical Fitness, On Purpose
The “Sticky Chicken” recipe was originally posted on the Newlyweds-blog
Click if you are interested in purchasing Teresa Bondera’s book The Reality of Weightloss I bought it many years ago and it helped me understand the science behind losing weight in a healthy manner. (She is fabulous and I am not being compensated in any way).
Let’s go over that list again.
1. Determine your calorie level/bracket on page four of your nutrition guide.
2. Make a list of which foods you will eat per color coded bucket.
3. Print or create a tally sheet for your buckets. (There are some in the back of your guide or you can log into your teambeachbody.com account and print them.
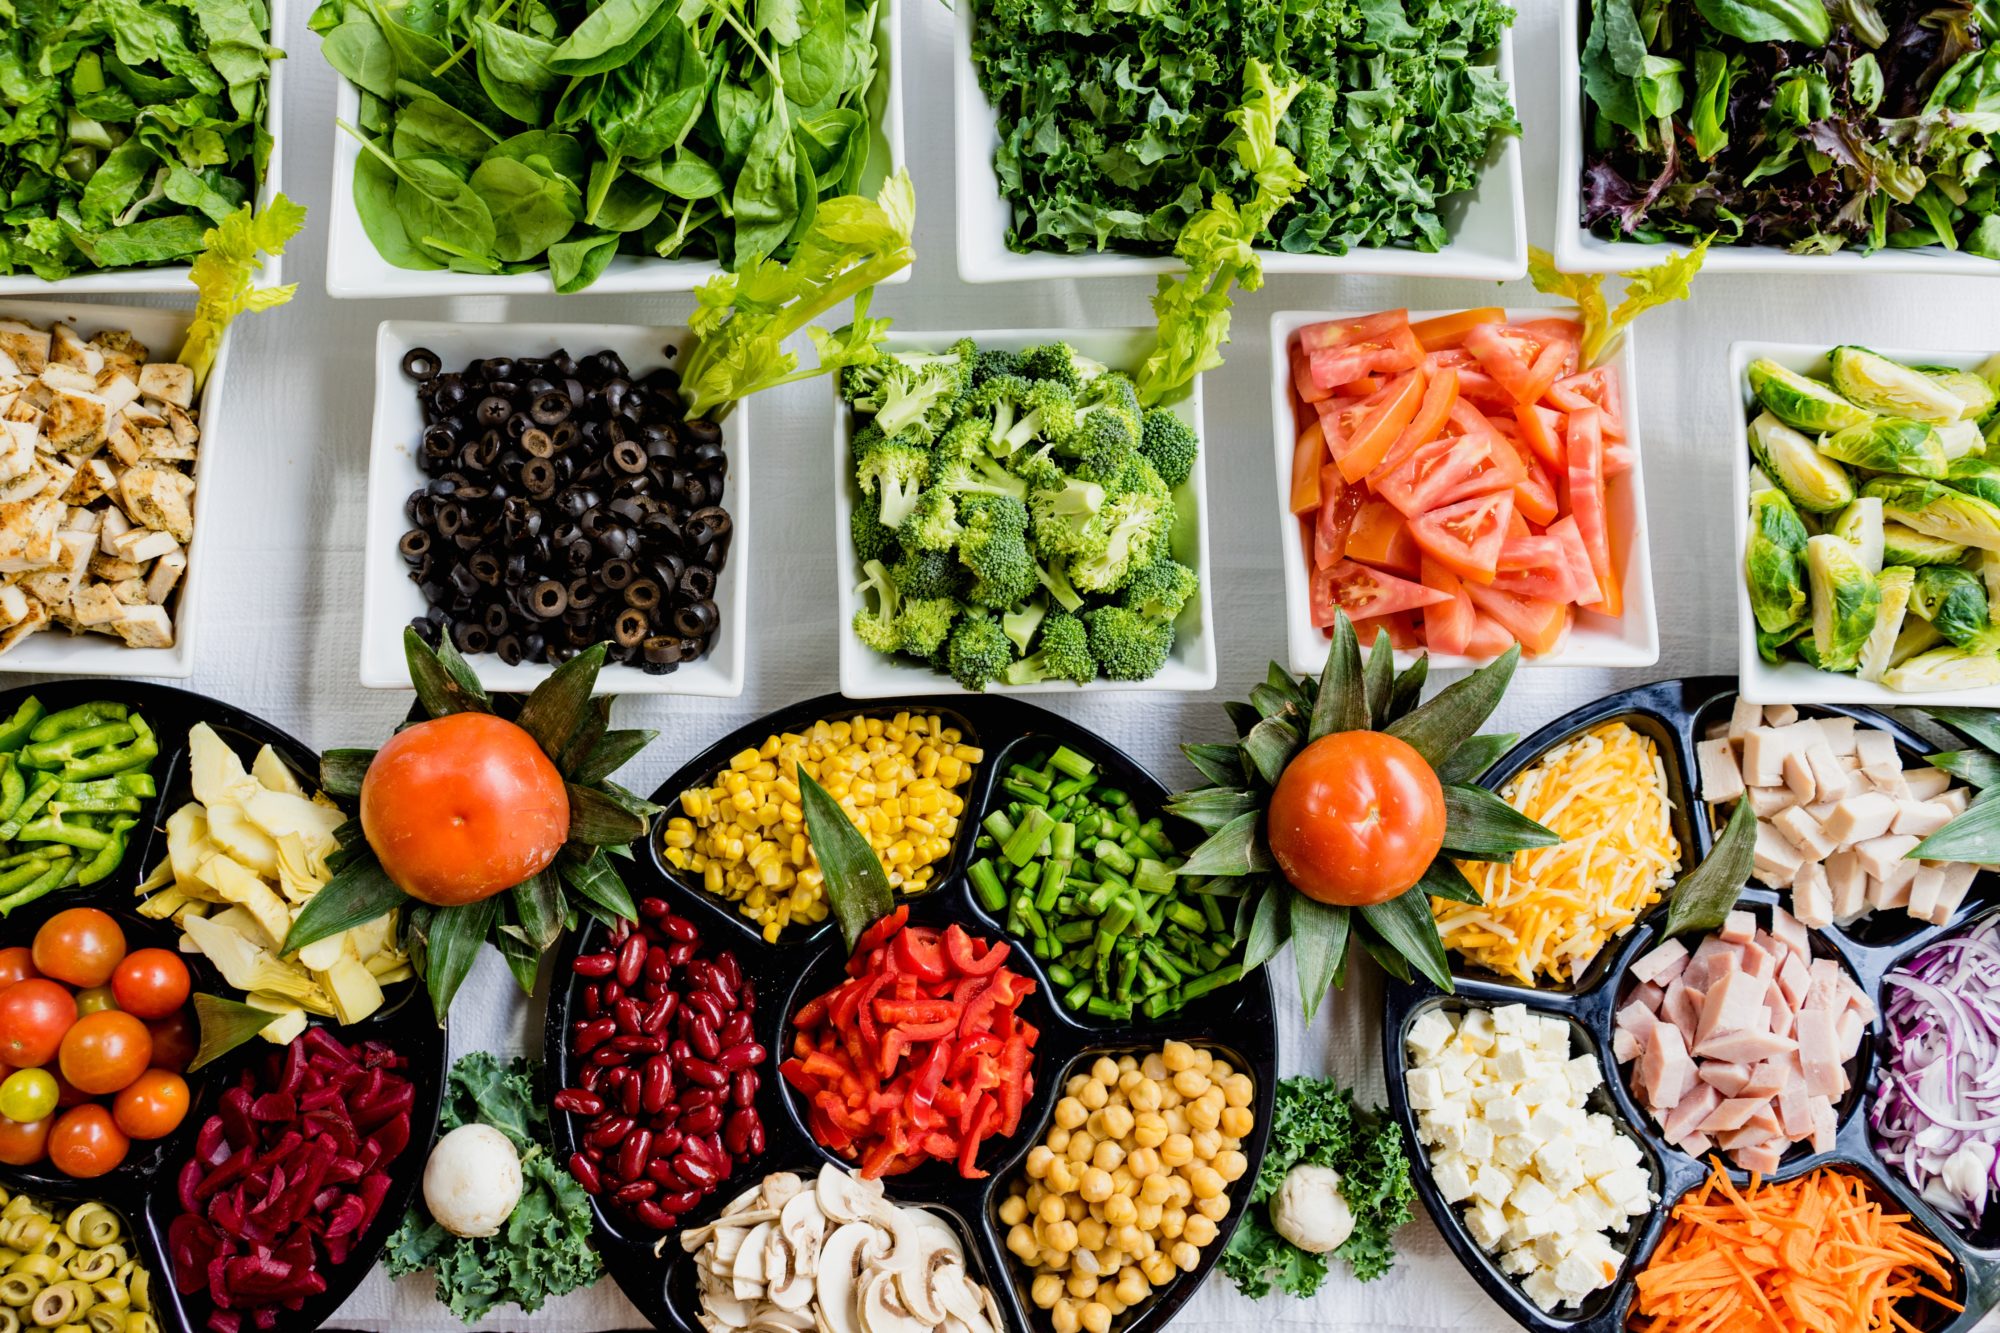
4. Spend some time doing food prep. I highly recommend peeling/cutting raw veggies, cooking a large number of hard boiled eggs, and making a large batch of roasted chicken.
Message me if you need help or have questions!
Okay, I’m going to go ahead and confess… I struggle to stay on track food wise. I’m pretty good at choosing the correct foods, but in all honesty I struggle to make sure I get all my food in during the day. The days that I do well, I feel great, the days that I don’t, I end up eating half a jar of peanut butter on an apple before I go to bed. Yes, I know that these are choices that I have control over, but some days I make the wrong choice. Period.
During a phone call with my wonderful coach, Monica Ward, I shared some of my struggles and goals. She challenged me to commit to 21 Days of Full Disclosure. So, I’ve decided to do a hybrid workout program consisting of Chalean Extreme and PiYo. Chalean Extreme is a 90 day program designed to build muscle, which is my main goal. PiYo, also builds muscle with a focus on flexibility, something I really NEED in my program. I will be starting the program Sunday September 21st. If you are interested in following my “Full Disclosure” journey please Like my IntentionallyFit Facebook page or continue to follow my daily recap video here.
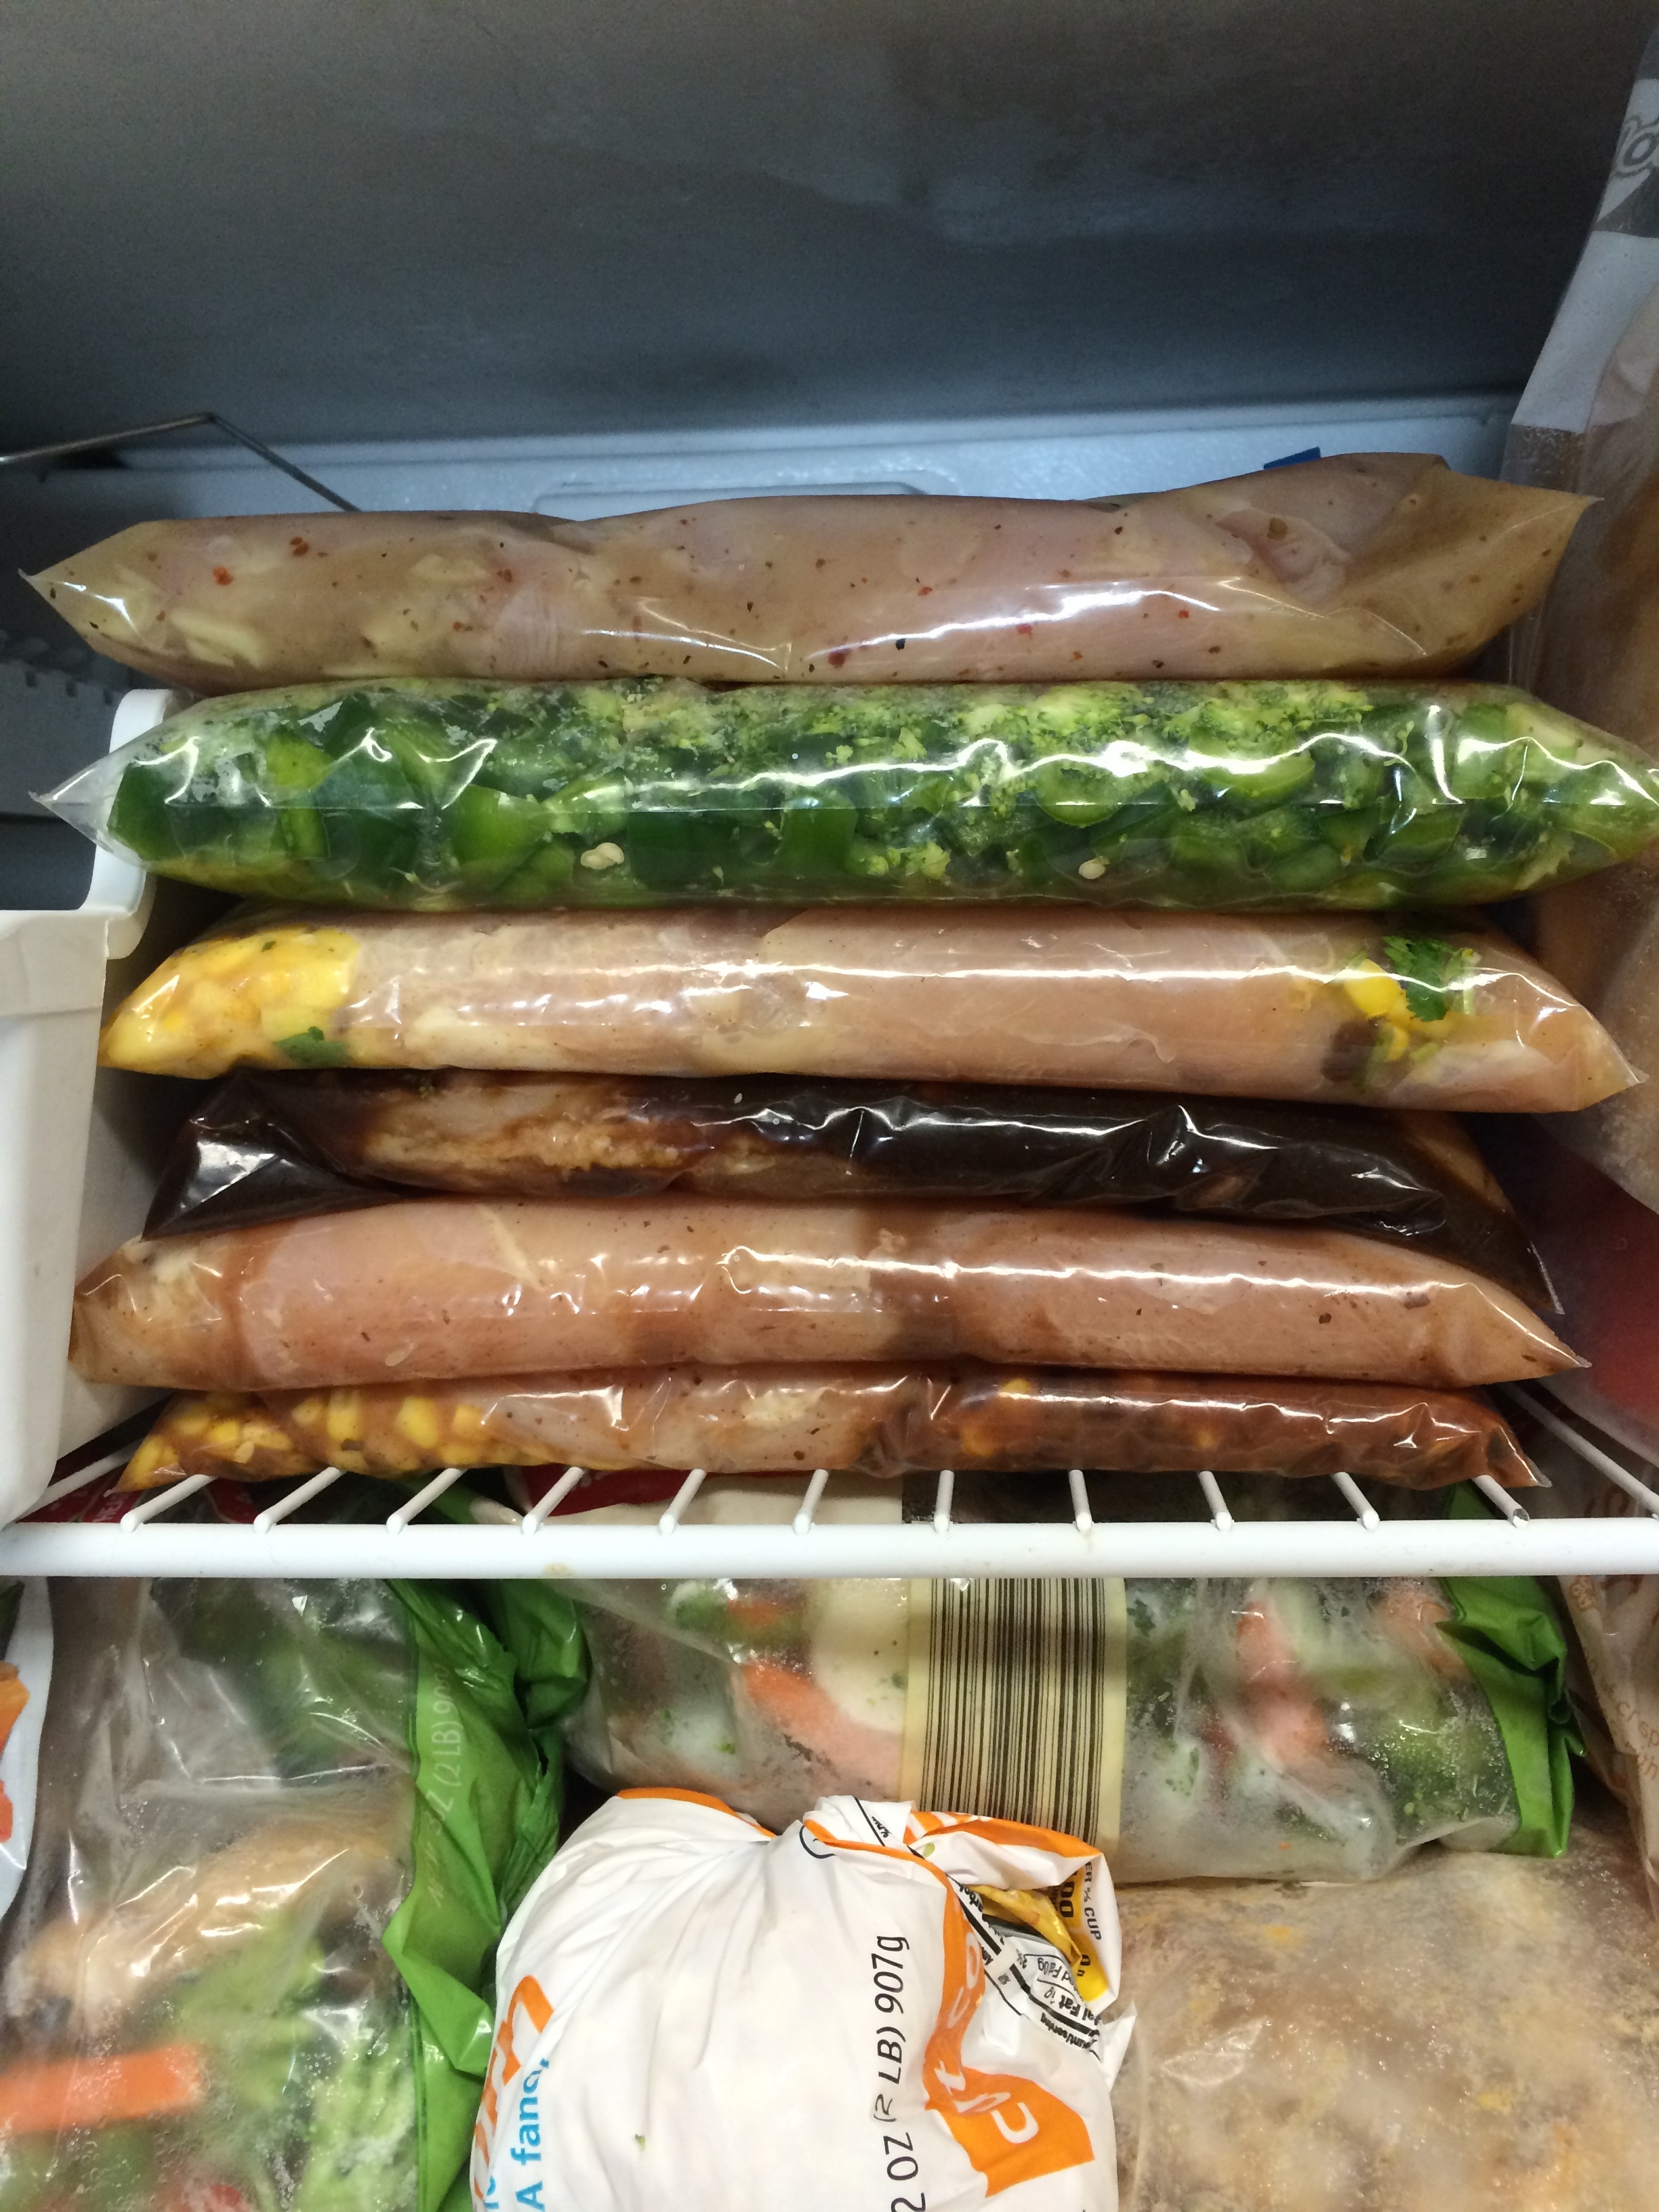
WOW! What a glorious view! It makes me happy just peeking into my tiny little freezer and seeing almost TWO WEEKS worth of meals! One of the most difficult things for me is to plan. I am not a “planner.” I am a fly-by-your-seat kind of girl. The problem with this is that we are busy and to make sure that I (and the rest of my family) make good healthy food choices, I MUST plan. So, I found some determination deep inside me and went to work.
First, I scoured the internet (ahem, Pinterest) for slow cooker meals. I struggled with this because although there is a plethora of them out there many of them use ingredients that I no longer use in my kitchen, like cream of whatever soups, package soups mixes, and lots of other processed foods. So, after many sites and some frustration, I found a few places that had recipes that were close to what I would use or that could be workable with some tweaking. SixSistersStuff was by far the best that I came across. Most of their recipes were pretty close and only needed minimal tweaking. Plus they have SO MANY to choose from!
I made a list of all the recipes and what I would need for each one, then I took that and created my grocery list. I went to two different stores, Aldi and Food Lion. I ended up getting all I needed for eleven meals and a little extra for under $200! SCORE!!!
*Learn the Hard Way Tip: Make sure you Pin the ACTUAL recipe or bookmark it.When I went to arrange my recipes I found that I had pinned the places where the meals came from, but not the actual recipe so I spent a LOT of time looking them back up. UGH! Learn before you waste your precious time!

One of the blog posts on freezer meals mentioned that she labels her meal and how to prepare it. I took it a little further and wrote the entire recipe on the freezer bag and how to serve it. This was a HUGE help and time saver. I didn’t have to drag my computer or a bunch of printed recipes to my tiny kitchen and everything was listed on each bag so I could separate the bags according to what went in them. So, I grouped all the “onion containing ones” and so forth.

I lined the bags up on the counter, cleaned the meats and put them in the bags first. The weight of the meat helped keep the bags upright and open. I also set out any cans, jars, or veggies next to my workspace.

Then I cut up and added the veggies. Green peppers first and dumped them into whatever bags called for them. I did the same for all the other veggies (onions last since they tend to be so strong). While I was cutting the veggies I rinsed and had the black beans soaking, then added those as well. I then added all the spices and whatever liquids were called for, squeezed out the air in the bags and laid them flat.
Voila!
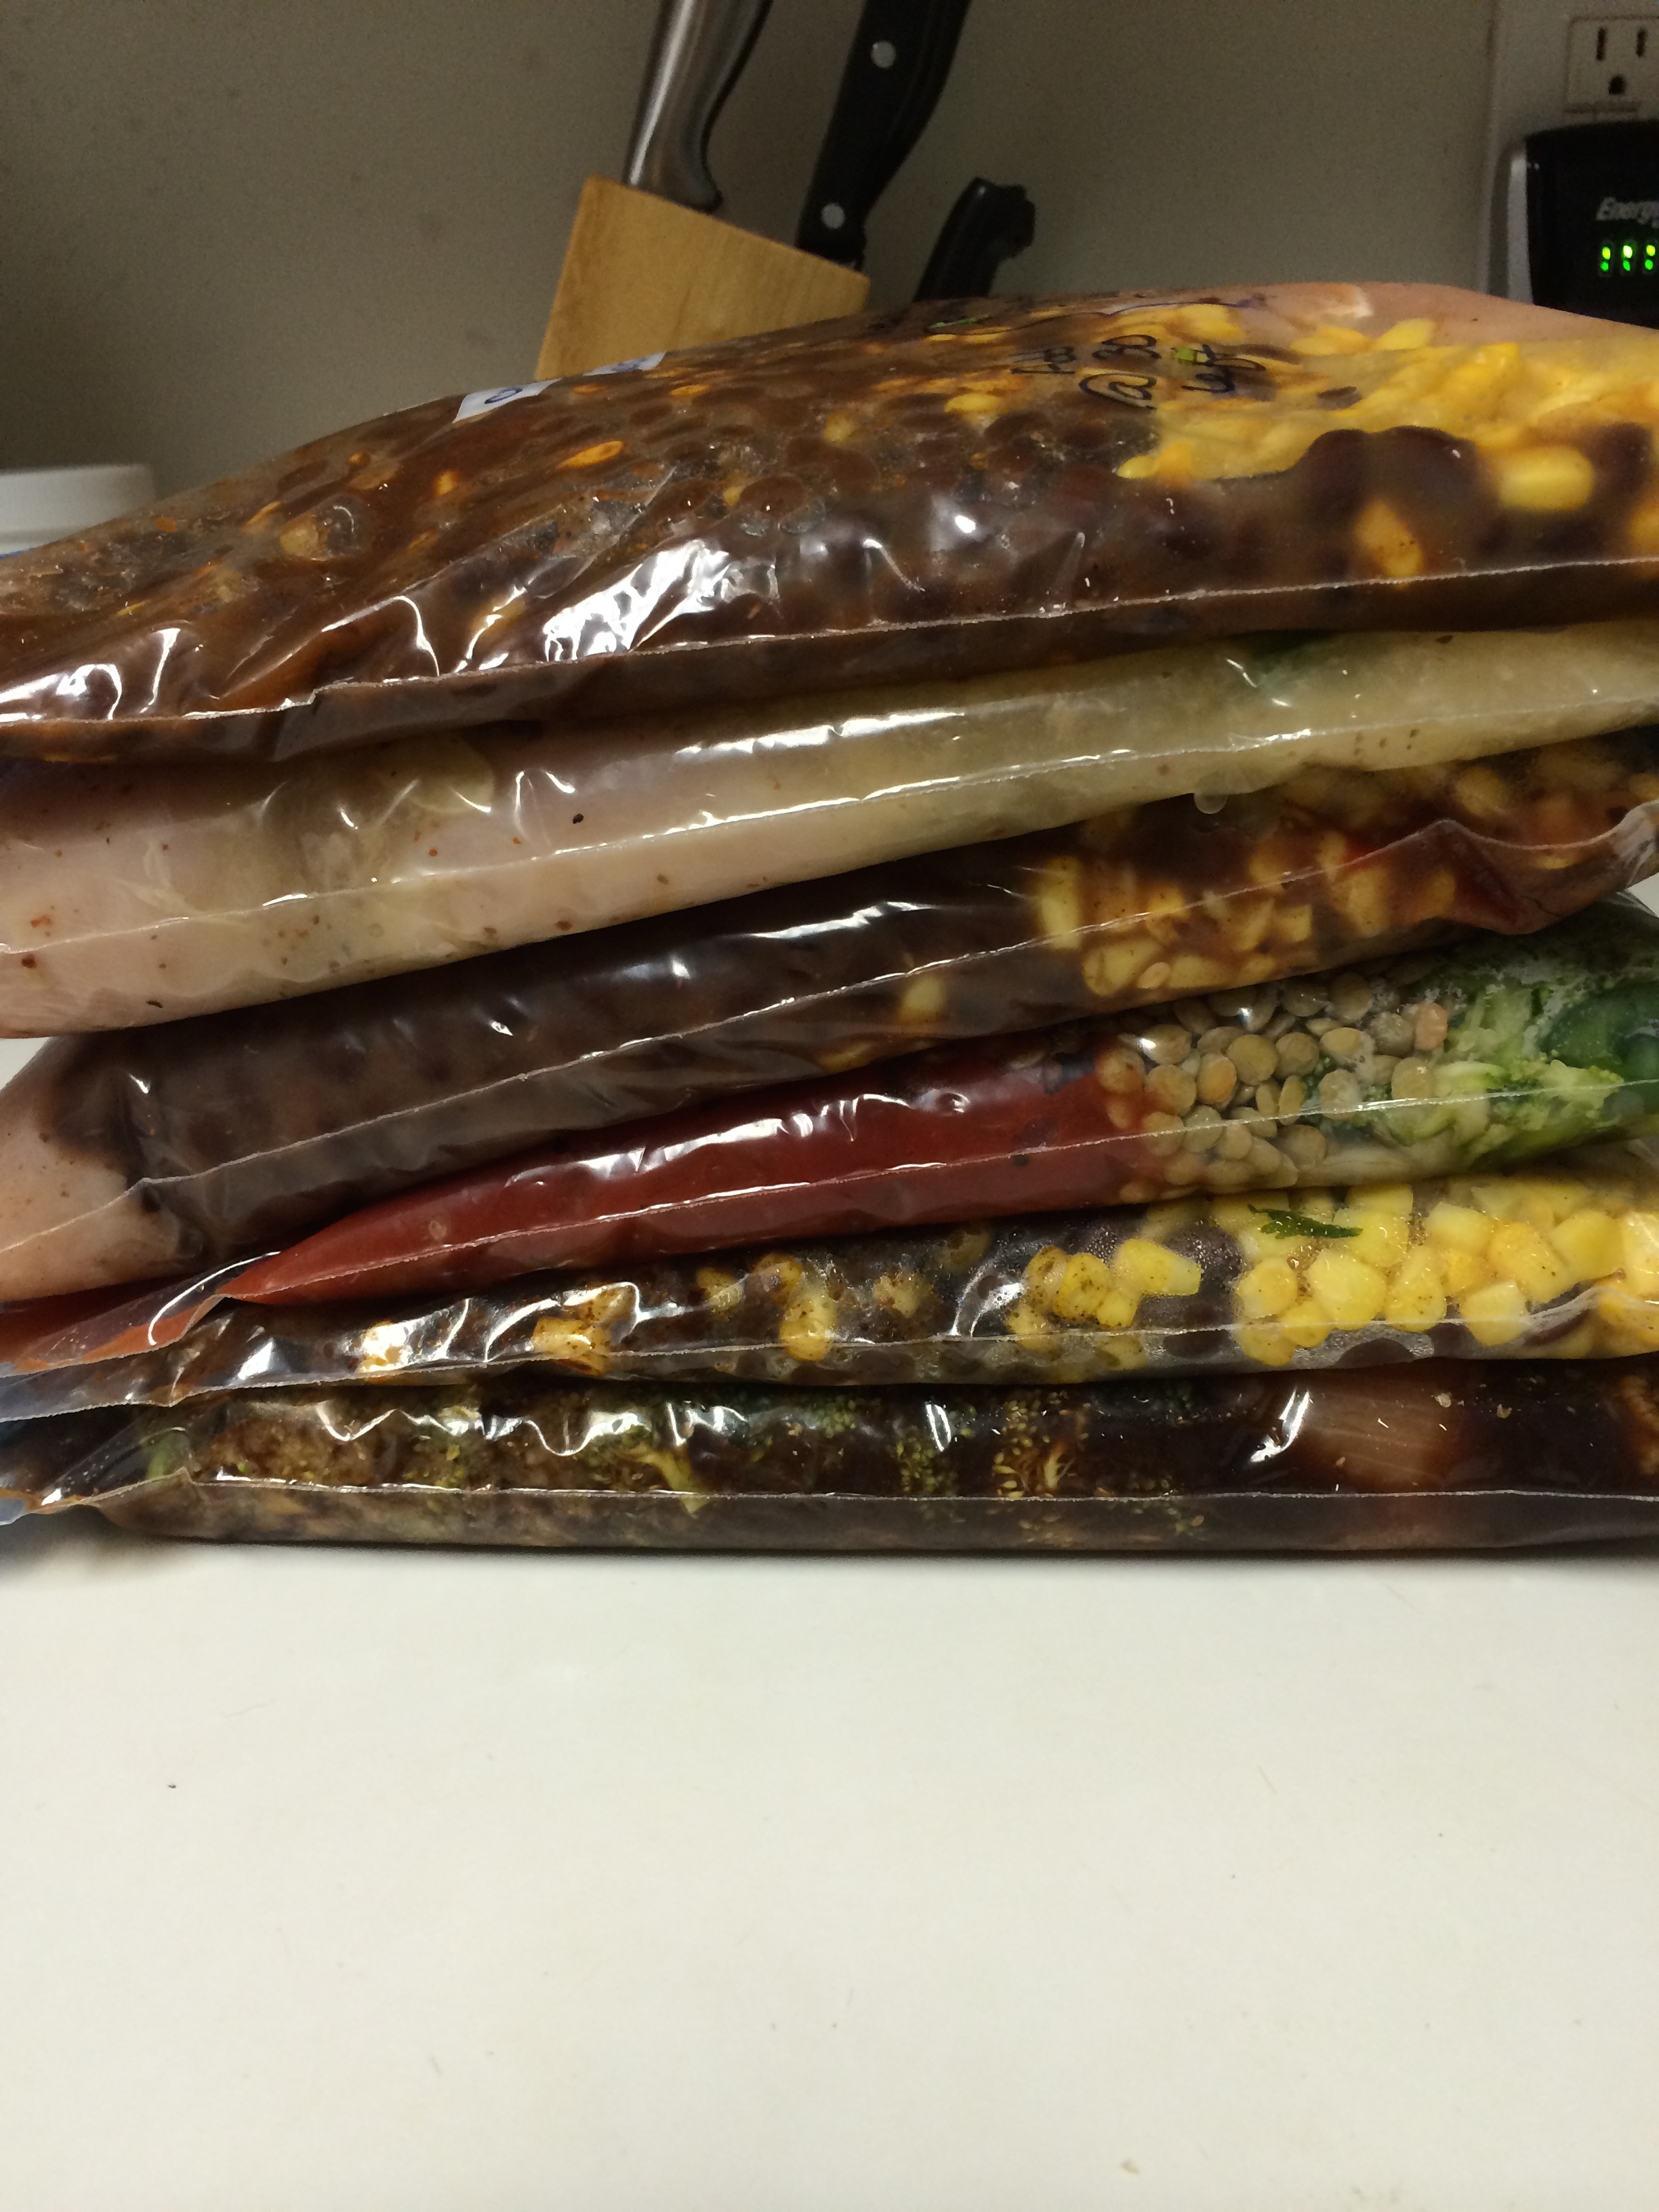
In truth, from start to finish, with just the meal prep part, it took about three hours. So, this did take a big chunk of time, however if we think about the fact that there are NINE, pre made dinners and if each dinner took a minimum of 30 minutes, I saved a ton of time including only having to clean up once! Now, that is enough for me to carve out that time once/twice a month!
*Another Learn the Hard Way Tip: Make sure you plan a simple make ahead meal for the day you do the actual meal prep! When I was finished doing all the prep, I didn’t have anything left to make (nor did I WANT to make) dinner! So I ate leftover chili and the rest of the family had pizza. SMH.
I challenge YOU to carve out some time to do some simple meal prep. I will be adding recipes to my crock pot board on Pinterest so check those out and send me any you find as well!